Weslo TREADMILL 831.297100 User Manual
Browse online or download User Manual for Treadmills Weslo TREADMILL 831.297100. Weslo TREADMILL 831.297100 User`s manual
- Page / 23
- Table of contents
- BOOKMARKS
Summary of Contents
USER'S MANUALSerial NumberDecalModel No. WETL13706.0Serial No. CAUTIONRead all precautions and instruc-tions in this manual before usingthis equi
10THE PRE-LUBRICATED WALKING BELTYour treadmill features a walking belt coated with high-performance lubricant. IMPORTANT: Never apply sili-cone spray
11FEATURES OF THE CONSOLE The treadmill console offers a selection of featuresdesigned to make your workouts more effective. While the manual mode of
HOW TO USE THE MANUAL MODEInsert the key into the console.See HOW TO TURN ON THE POWER on page11.Select the manual mode.When the key is in-serted, the
13To reset the displays, press the Stop button, re-move the key, and then reinsert the key. Note: The console candisplay speed and dis-tance in either
14HOW TO USE A SPEED PROGRAMInsert the key into the console.See HOW TO TURN ON THE POWER on page11.Select one of the four speed programs.To select a s
15HOW TO FOLD AND MOVE THE TREADMILLHOW TO FOLD THE TREADMILL FOR STORAGEUnplug the power cord. CAUTION: You must be able tosafely lift 20 kg (45 lbs.
HOW TO LOWER THE TREADMILL FOR USE1. Hold the upper end of the treadmill with your right hand asshown. Using your left hand, pull the latch knob to th
MAINTENANCE AND TROUBLESHOOTINGMost treadmill problems can be solved by following the steps below. Find the symptom that applies, andfollow the steps
18Locate the Reed Switch (97) and the Magnet (62) onthe left side of the Pulley (71). Turn the Pulley until theMagnet is aligned with the Reed Switch.
19 CONDITIONING GUIDELINESThe following guidelines will help you to plan your ex-ercise program. For more detailed exercise informa-tion, obtain a r
TABLE OF CONTENTSIMPORTANT PRECAUTIONS . . . . . . . . . . . . . . . . . . . . . . . . . . . . . . . . . . . . . . . . . . . . . . . . . . . . . . .
Frame Pivot Bolt (1)–2Console BackScrew (4)–4NHandrail StarWasher (9)–2Handrail Washer/Frame Washer (14)–6Console Screw/Latch Screw (7)–6Handrail Bolt
PART LIST—Model No. WETL13706.0 R0706AKey No. Qty. DescriptionKey No. Qty. DescriptionKey No. Qty. Description1 2 Frame Pivot Bolt2 4 Handrail Bolt31
802121138115546511531419981111497574890987510747474747918221226684242041412020215839394920994141242047266326636326632675701635351670757771616141485125
Part No. 239999 R0706APrinted in China ©2006 ICON IP, Inc.ORDERING REPLACEMENT PARTSTo order replacement parts, contact the ICON Health & Fitness,
3WARNING:To reduce the risk of burns, fire, electric shock, or injury to persons, read thefollowing important precautions and information before opera
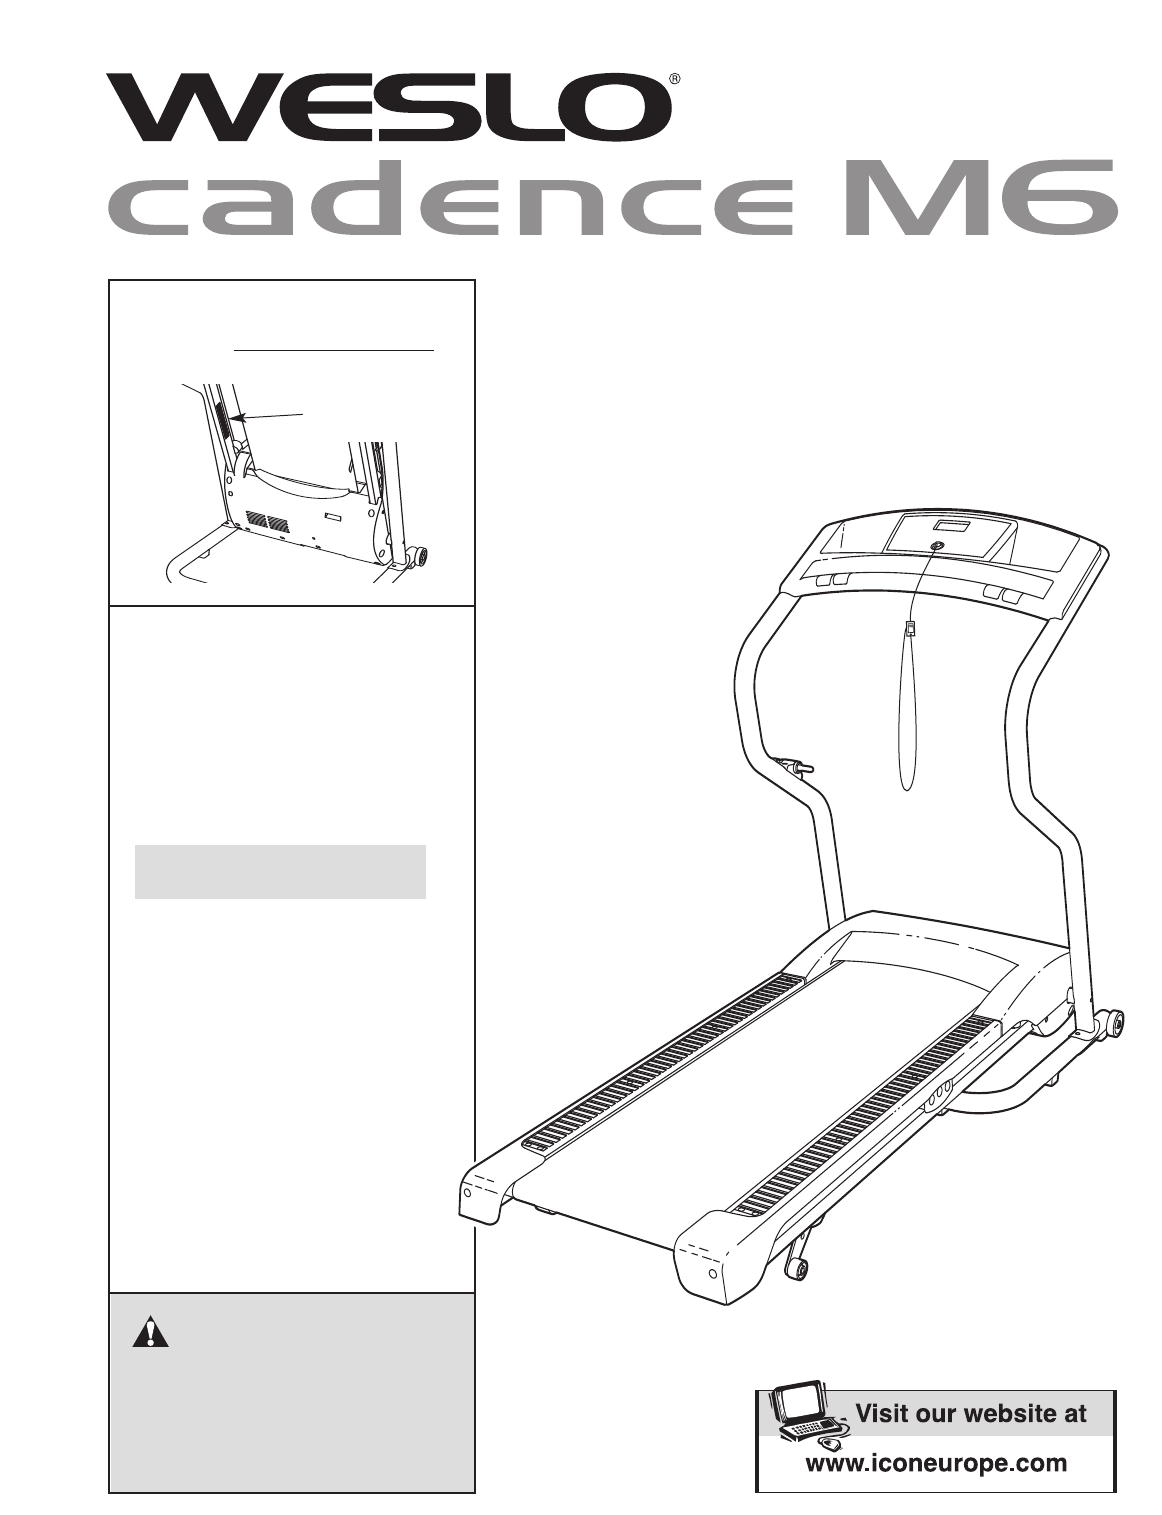
4The decal shown at the right has been placed on thetreadmill. If the decal is missing, or if it is not legible, callthe telephone number on the front
5Thank you for selecting the new WESLO®CADENCEM6 treadmill. The CADENCE M6 treadmill combinesadvanced technology with innovative design to makeyour wo
6ASSEMBLYAssembly requires two persons.Set the treadmill in a cleared area and remove all packing materials; do notdispose of the packing materials un
3. Have a second person lift and hold the front endof the Frame (51). Hold a Frame Spacer (11) be-tween the Right Handrail (54) and the Frame.Attach t
86. Attach the Console Back (93) to the ConsoleAssembly (91) with four Console Back Screws(4). Note that there is a slot in the side of theConsole Bac
99. Make sure that all parts are properly tightened before you use the treadmill. Keep the included hex key ina secure place. The hex key is used to a
More documents for Treadmills Weslo TREADMILL 831.297100

Related products and manuals for Treadmills Weslo TREADMILL 831.297100
 (10 pages)
 (11 pages)
(10 pages)
(32 pages)
(28 pages)
(10 pages)
(11 pages)
(10 pages)
(32 pages)
(28 pages)
(10 pages)
 (8 pages)
(23 pages)
(18 pages)
(19 pages)
(23 pages)
(19 pages)
(20 pages)
(8 pages)
(23 pages)
(18 pages)
(19 pages)
(23 pages)
(19 pages)
(20 pages)
© 2020, manymanuals.com. All rights reserved. | 4.457 s |
 Manymanuals.com
 Manymanuals.de
 Manymanuals.fr
 Manymanuals.it
 Manymanuals.pl
 Manymanuals.cz
 Manymanuals.es
 Manymanuals-pt.com
Comments to this Manuals